My interest in baking began back in the fall of 1992. I was a sophomore at San Marin High School (go Mustangs!), dating a girl from my English class. She was the daughter of a minister. I was nervous.
One afternoon as the holidays neared, I went over to her house for some parent-approved cookie baking—just the kind of thing that a girlfriend’s mother loves. I had baked chocolate chip cookies before, always carefully following the recipe on the back of the chocolate chip package. So I was confused that my girlfriend and her mother were deviating from the time-tested wisdom of Toll House. Nothing dramatic mind you, just a bit more flour and a bit less time in the oven for softer cookies. The results were delicious, I’m sure the word “awesome” was used several times.
I brought some cookies to school the following week. I shared a few with my buddies and classmates. They gobbled them up and asked for more. I started taking orders. I made enough money over the course of two weeks to cover Christmas shopping that year. I’m pretty sure I was the only guy on the football team with a side business as a baker.
The girlfriend only lasted 3 months, but I’ve been in love with the cookies for over 20 years. It has been modified countless times over the years, but still draws from its ancestral roots: the Original Toll House recipe. That being said, I still call it my own.
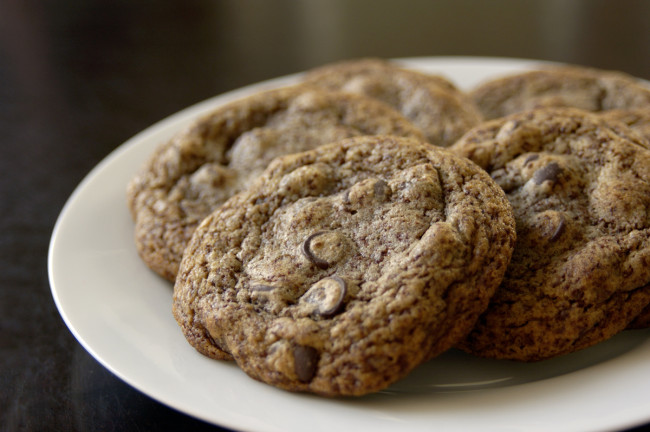
These cookies are chocolate-heavy and very soft. Use the best ingredients you can find—it makes a real difference in the final product. I hope you enjoy.
Yield
About 18-20 cookies. This recipe is just begging to be doubled.
Ingredients
- 2 ½ cups all-purpose flour
- 1 teaspoon baking soda
- 1 ¾ teaspoon salt
- 1 ¼ cups (2.5 sticks) unsalted butter at room temperature
- ¾ cup granulated sugar
- ¾ cup packed brown sugar
- 1 teaspoon vanilla extract
- 2 large eggs at room temperature
- 2 cups (12 oz. package) semi-sweet chocolate chips
- 4 ounces semi-sweet or bitter-sweet chocolate (shredded on a box grater)*
Method
- Combine flour, baking soda, and salt in a medium bowl. Set aside.
- Mix butter, granulated sugar, brown sugar, and vanilla extract in a large bowl or (if you have one) a stand mixer with the paddle attachment.
- Add eggs to butter/sugar mixture one at a time, beating well after each addition.
- Gradually beat in flour mixture. I usually add it in three parts.
- Mix in shredded chocolate.
- Stir in chocolate chips. At this point, the dough is very thick. Get in there with your (clean) hands to work in the chips.
- Portion the dough with a scoop (I use a 2 ¾ ounce blue scoop). Place the portioned scoops close together on a parchment-lined sheet pan.
- Pat the scoops down slightly, cover with plastic wrap and then slip the portioned dough into the refrigerator for at least two hours.
- Preheat oven to 375 F. Adjust rack to middle position.
- Remove six dough scoops from the refrigerator and place them on a sheet pan lined with parchment paper or Silpat.
- Bake for 12-15 minutes. They should look a bit undercooked. (cook for less time if you portioned smaller)
- Slide parchment paper and cookies directly onto cooling racks. The cookies are very soft and can fall apart quite easily when warm.
- Let the cookies cool for minimum 20 minutes before gorging yourself.
* This part, admittedly, sucks. But it is worth the effort.